MAC Open VPN SetUp
MAC OpenVPN set up
Please follow these instructions
Download and install OpenVPN.
The OpenVPN Connect Client for macOS, the latest version, currently supports these operating systems: OS X 10.8 Mountain Lion, OS X 10.9 Mavericks, OS X 10.10 Yosemite, OS X 10.11 El Capitan, macOS 10.12 Sierra, macOS 10.13 High Sierra, macOS 10.14 Mojave, macOS 10.15 Catalina, macOS 11.0 Big SurWait until the download completes, and then open it (the exact procedure varies a bit per browser).
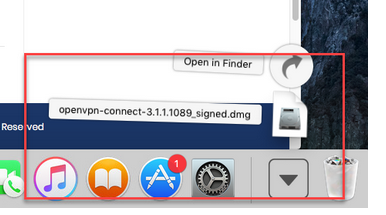
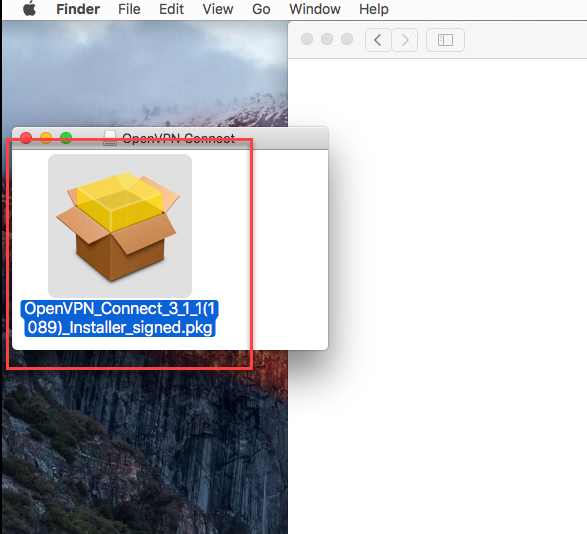
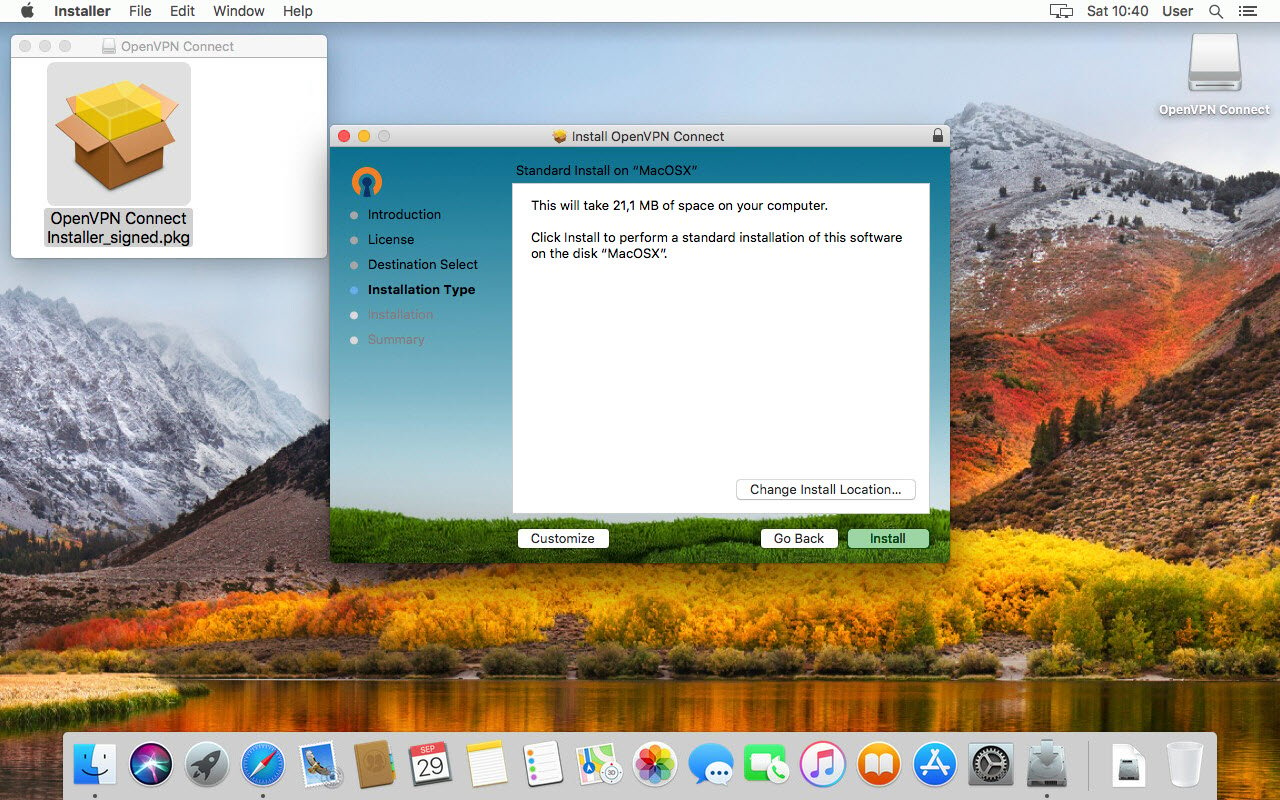
Open the 'OpenVPN Connect installer' to start the installation..
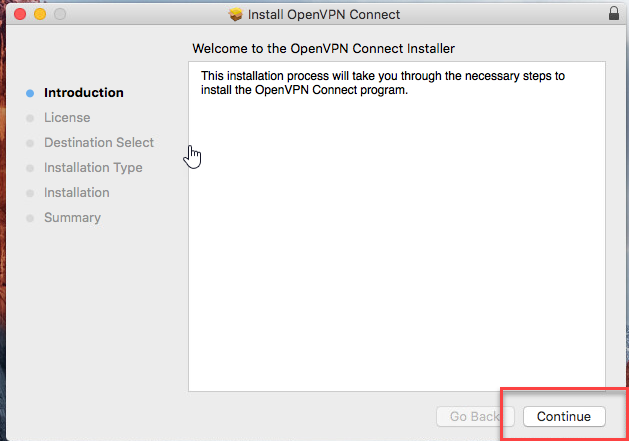
Click 'Continue'.
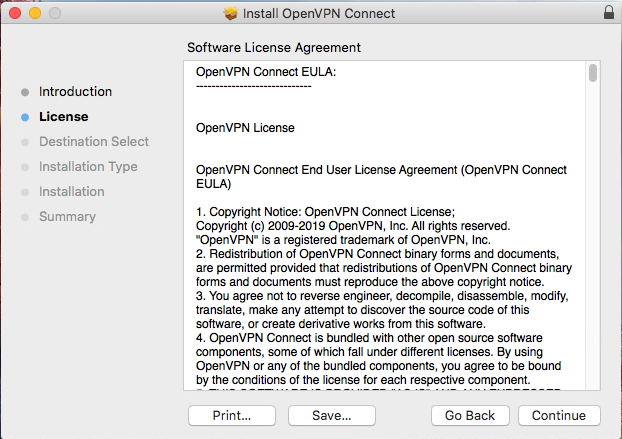
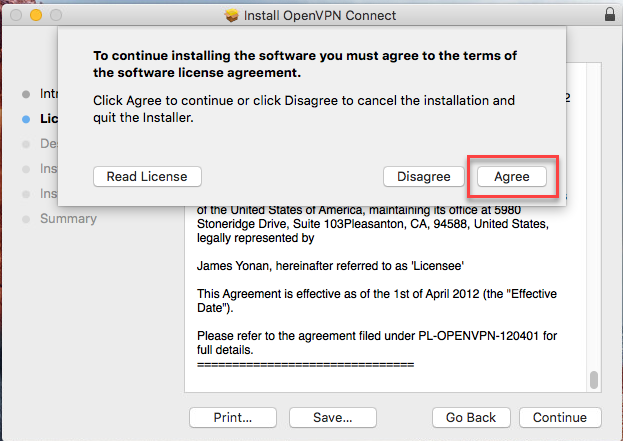
Please read the licensing terms. Then click 'Continue'.
Click 'Agree' to accept the licensing terms.
Click 'Install' to proceed.
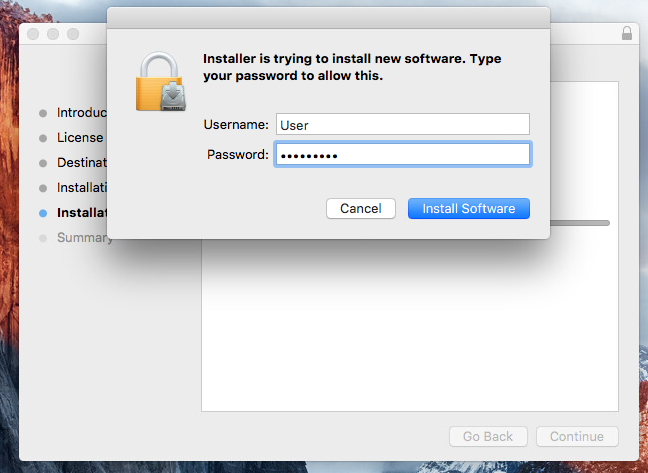
Enter your device password, if you have one configured, and click 'Install Software'..
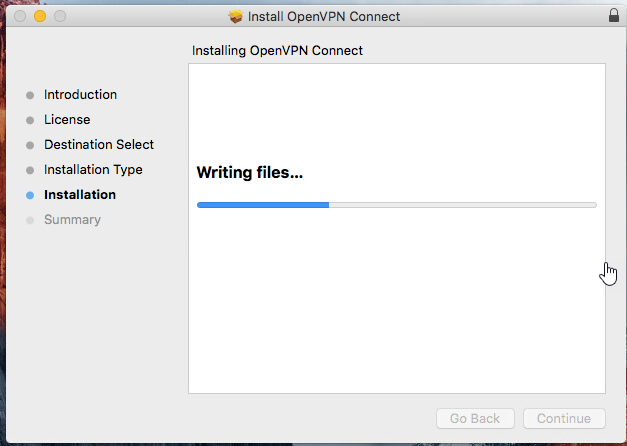
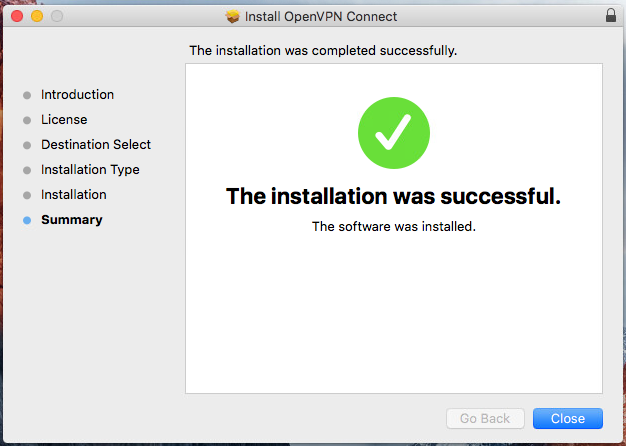
Wait for the installation process to complete.
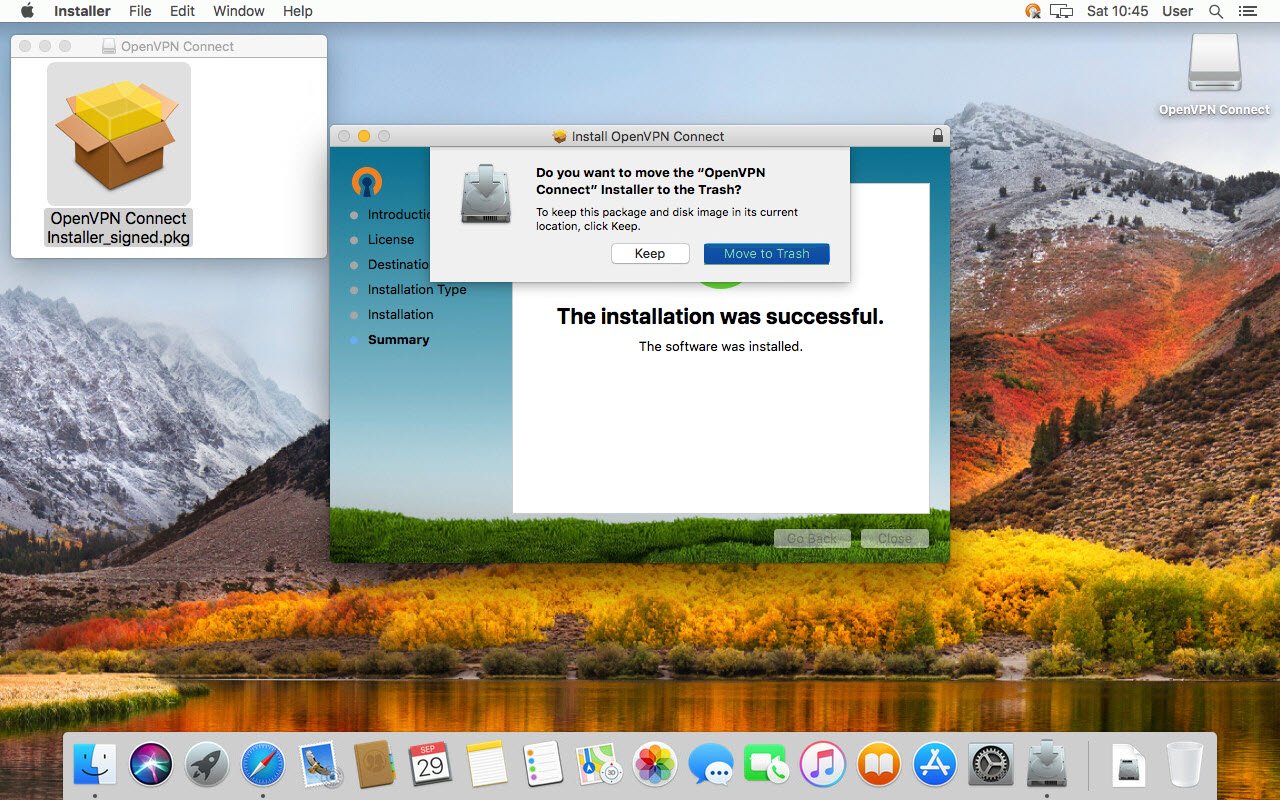
Click 'Close' to end the installation process.
If your device asks, click 'Move to Trash' to clean up the installer file.
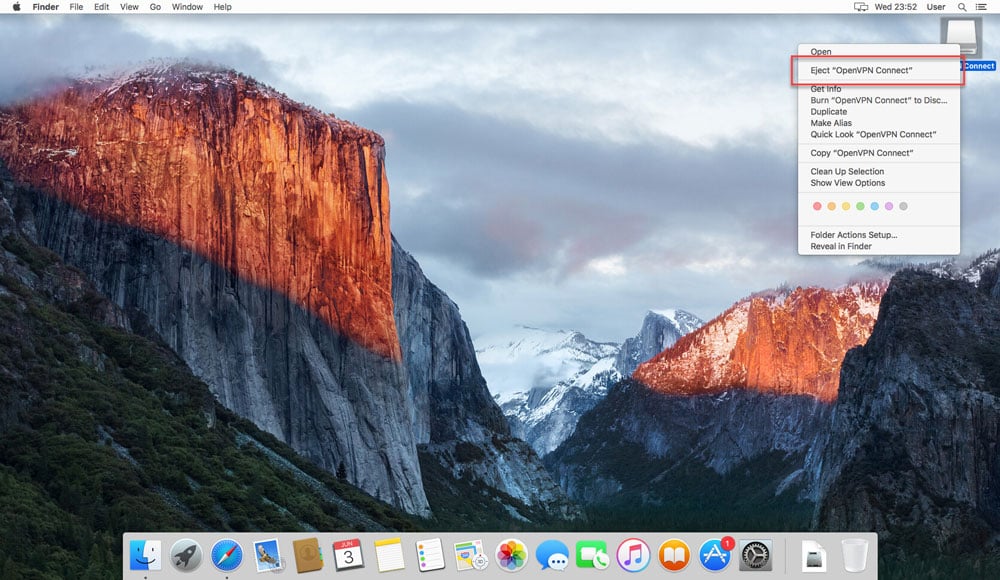
Rightclick (ctrl+click) 'OpenVPN Connect' and eject it.
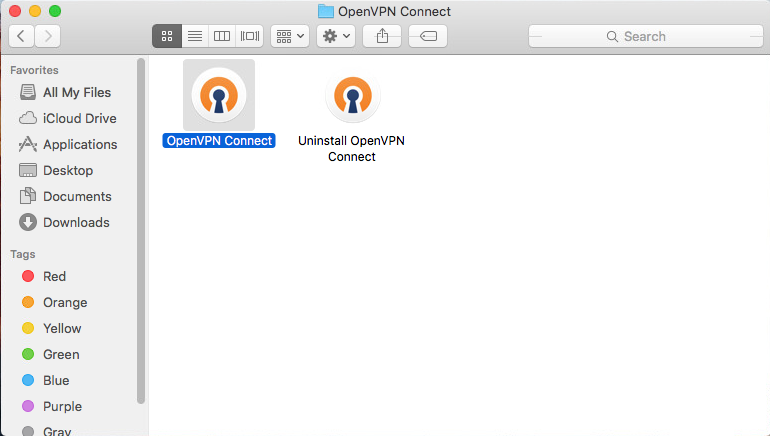
In Applications, OpenVPN Connect is now ready for use.
Once you open the application you will see a screen like this:
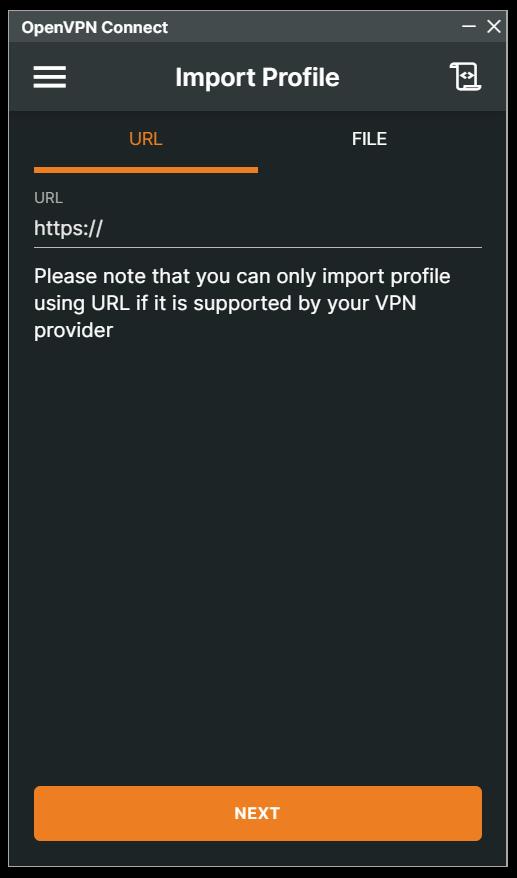
Click on "FILE" so the screen looks like this:
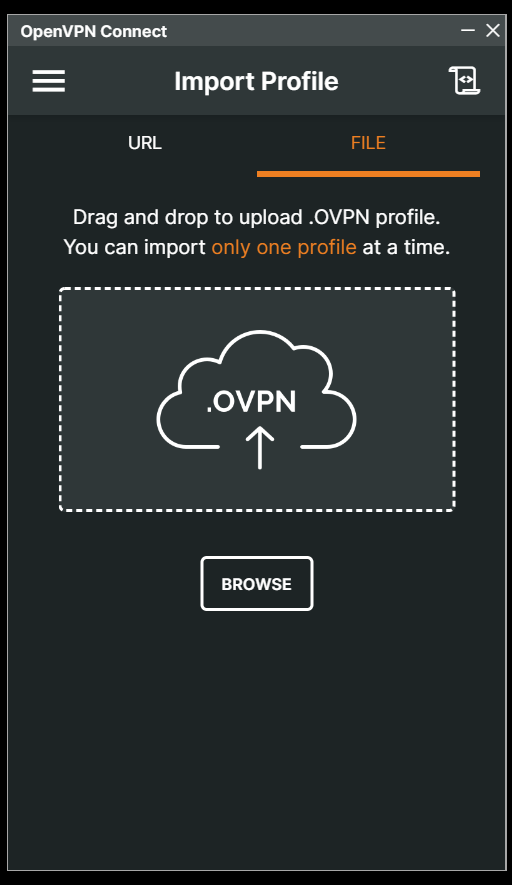
Download our OPEN files from the link in your "Welcome Email".
Extract the files and open the folder. Drag the files in 1 at a time to import them.
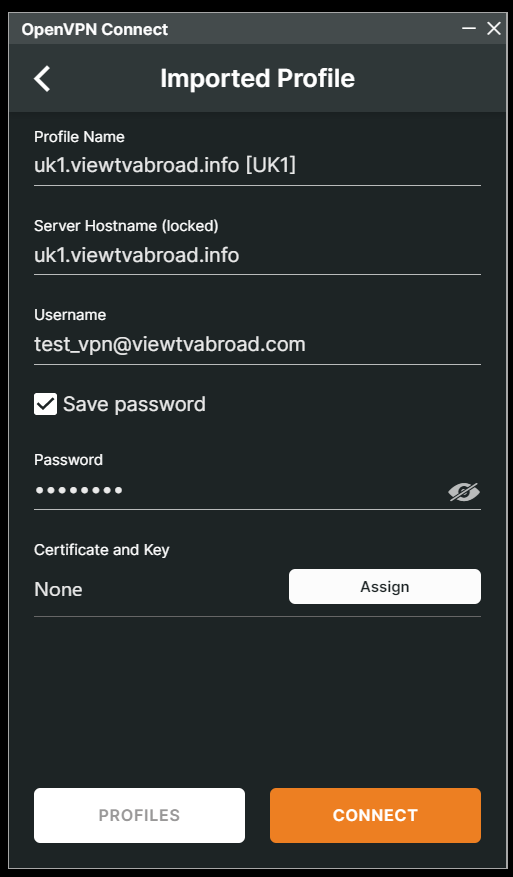
After dragging a file in the screen looks like this:
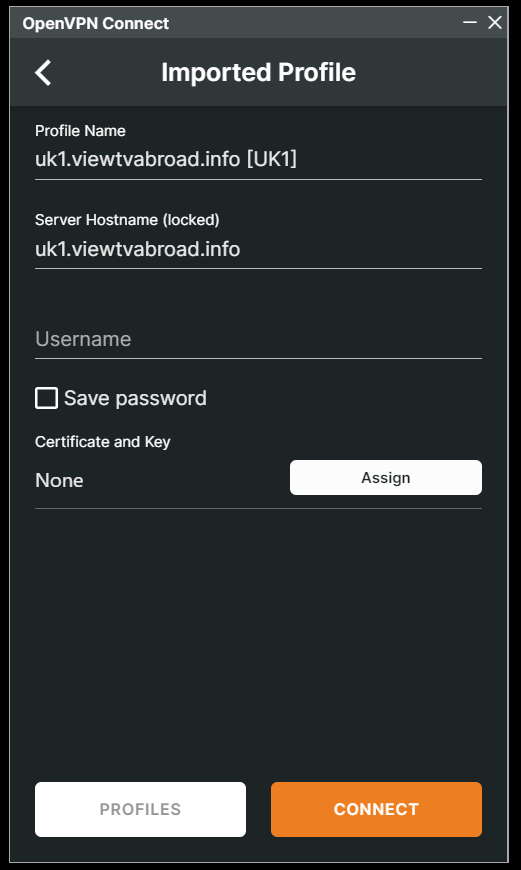
Enter your ViewTVabroad Account details - your User name and Password (see welcome email), allow saving your password and press the "OK" button. Click the orange "Connect" button.
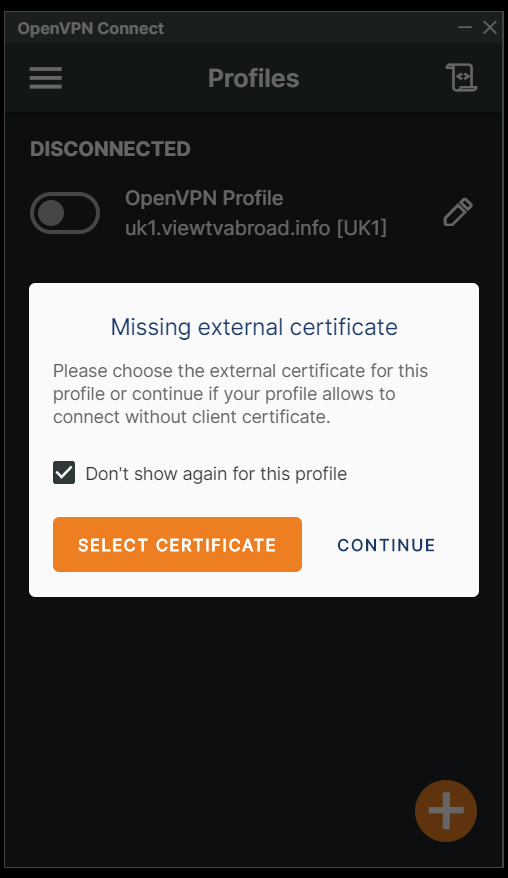
You will then be warned about a missing external certificate, this is normal. Tick the "Don't show again for this profile" and the click "Continue".
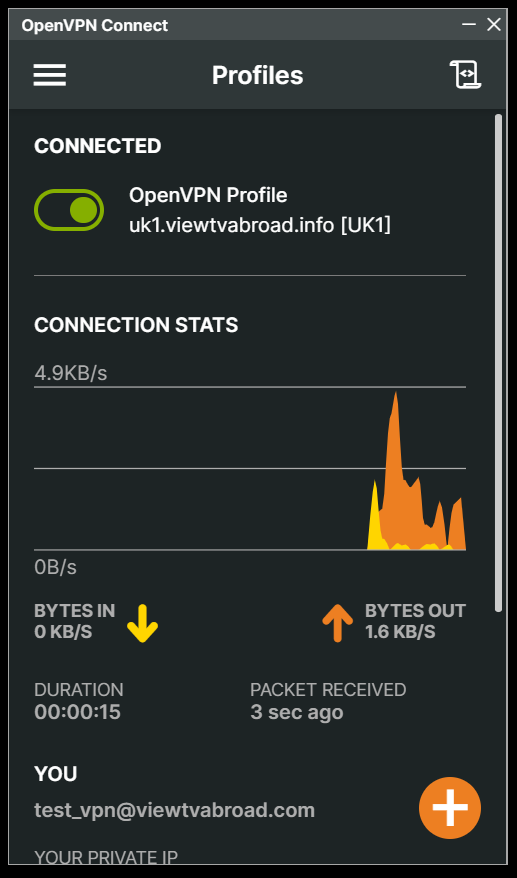
Once connected your screen will look like this:
Click the green toggle button at the top of the screen will turn off the connection and show you the list of server profiles you have imported.
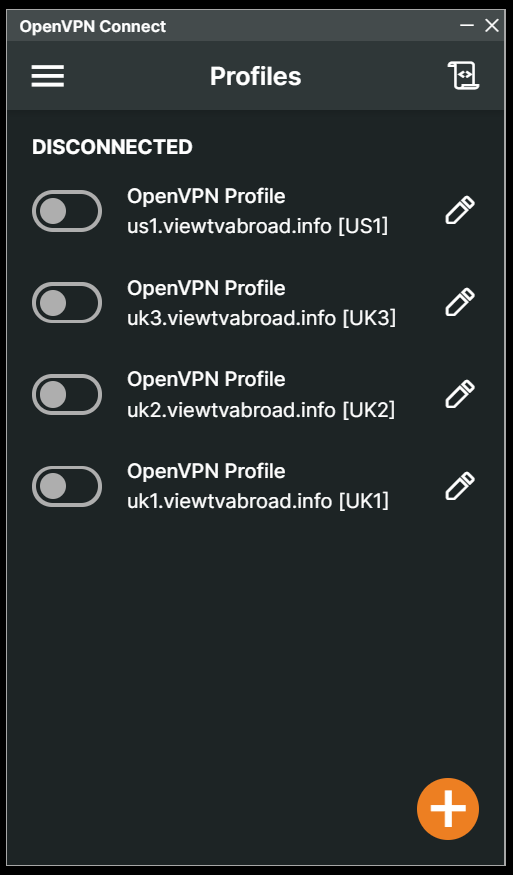
Now click on the orange plus button on the bottom right to repeat importing the rest of the server profiles you previoiusly downloaded.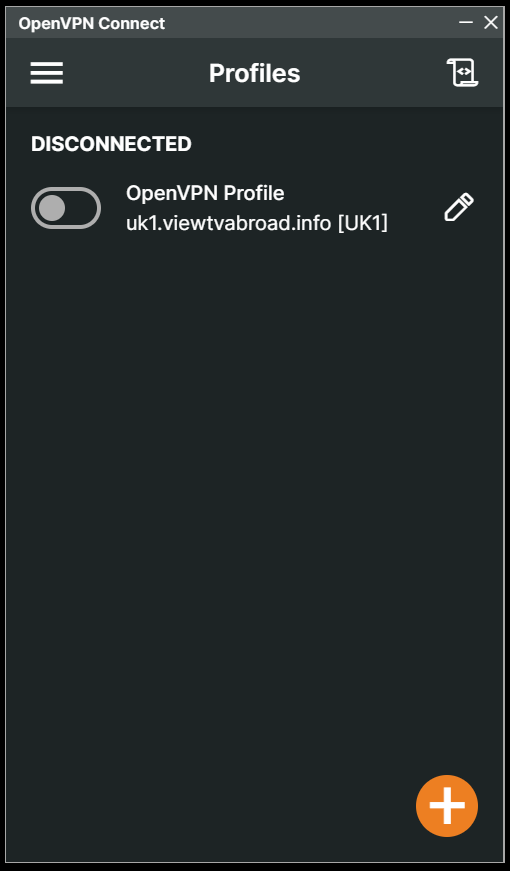
Once you have repeated this process your screen will look like this:
You can now start watching UK & US TV by first making sure you are connected to one of the UK servers (for UK TV) or one of the US servers (for US TV) and then selecting channels and services from the channels page.
Living abroad, travelling, working away on business or on holiday?
Don't want to miss out on your favourite TV? View TV Abroad makes watching UK & USA TV, live or on demand, wherever you are, easy & accessible, using your TV, laptop, PC, Mac, Android, iPhone or iPad..
Subscribe Now